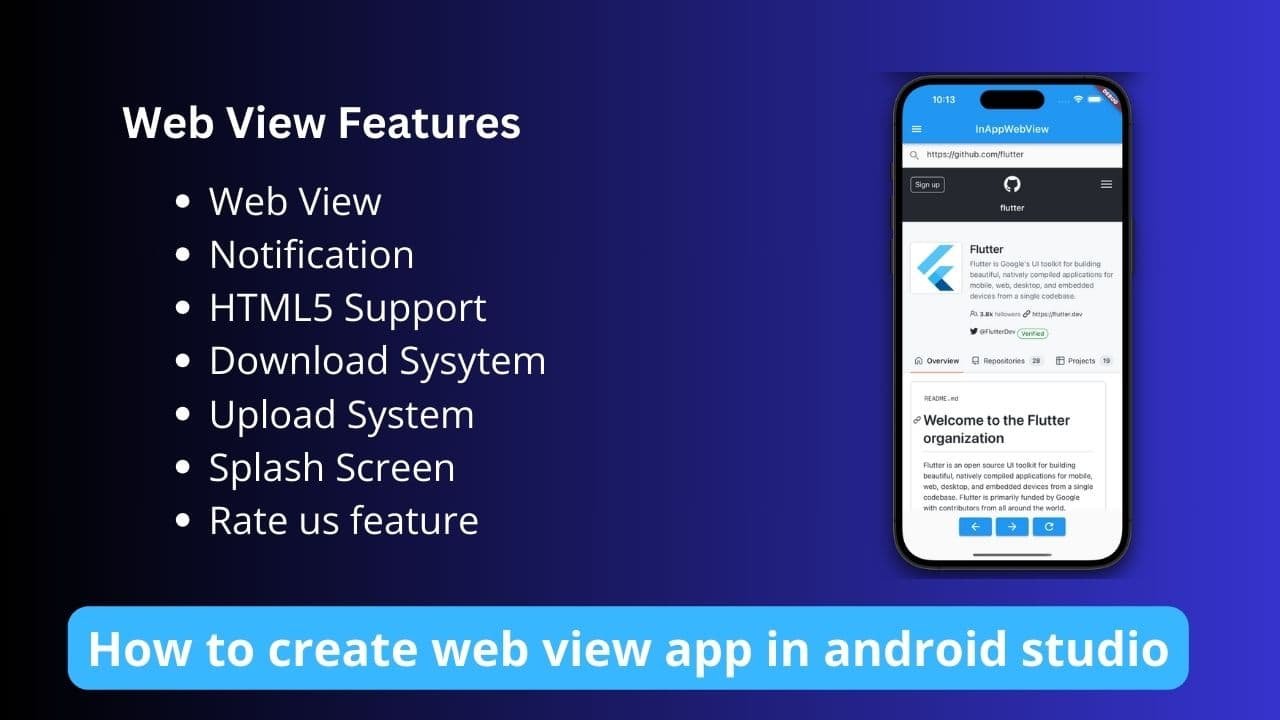
If you want to create a good web view application in Android Studio, then in today’s article I am going to tell you how you can create a fully functional web view application in Android Studio.

Creating a web view application inside Android Studio is a very easy task, in this, you do not need to do much coding, today we are going to show the URL of the website in this web view application, and when the application opens, it will show a splash screen. Be seen! This makes our application a professional application!
How to Install Android Studio?
Android Studio is an open-source software through which you can develop Android applications. It is very easy to install it in your computer or laptop. First of all, you have to open Google Chrome in your computer and search by typing “Android Studio Download.” After that, You have to click on the first link that will come or you have to click on this link – https://developer.android.com/studio.
To use Android Studio on your computer, you must have at least 8GB RAM and 256GB hard disk. If the configuration of your computer is less than this then Android Studio will not work properly. After downloading the Android Studio software, you have to install it in your computer and wait for a while because its installation takes a little more time and you Keep your computer connected to the internet.
Read More:- How to add Lottie Animation in the Android App and Make Professional
Create a Web View App in Android Studio
Step 1:- Open Android Studio and create a new project.
- Open Android Studio.
- Click on “Start a new Android Studio project” or go to
File > New > New Project. - Choose “Empty Activity” and click “Next”.
- Name your project, choose a package name, select the language (Java/Kotlin), and set the minimum API level (usually, API 21 or higher is fine). Then click “Finish”.
Step 2: Add the WebView dependency
In your build.gradle file (usually located in the app folder), make sure you have the WebView dependency added. If it’s not there, add it like this:
implementation 'androidx.webkit:webkit:1.4.0'Step 3: Add Internet Permission
Open your AndroidManifest.xml file from the manifests folder and add the following permission outside the <application> tag:
<uses-permission android:name="android.permission.INTERNET" />Step 4: Add WebView to the Layout
Open your activity_main.xml file from the res/layout folder. Replace the existing code with the following to create a basic layout with a WebView:
<?xml version="1.0" encoding="utf-8"?>
<RelativeLayout xmlns:android="http://schemas.android.com/apk/res/android"
    android:layout_width="match_parent"
    android:layout_height="match_parent">

    <WebView
        android:id="@+id/webview"
        android:layout_width="match_parent"
        android:layout_height="match_parent" />

</RelativeLayout>
Step 5: Set Up WebView in MainActivity
Open your MainActivity.java file from the java/com.yourpackage.yourappname/ folder. Replace the existing code with the following to set up the WebView:
package com.yourpackage.yourappname;

import android.os.Bundle;
import android.webkit.WebSettings;
import android.webkit.WebView;
import android.webkit.WebViewClient;
import androidx.appcompat.app.AlertDialog;
import androidx.appcompat.app.AppCompatActivity;

public class MainActivity extends AppCompatActivity {

    private WebView webView;

    @Override
    protected void onCreate(Bundle savedInstanceState) {
        super.onCreate(savedInstanceState);
        setContentView(R.layout.activity_main);

        webView = findViewById(R.id.webview);
        WebSettings webSettings = webView.getSettings();
        webSettings.setJavaScriptEnabled(true); // Enable JavaScript

        webView.setWebViewClient(new WebViewClient());

        // Load initial URL
        loadUrl("https://www.example.com");
    }

    private void loadUrl(String url) {
        if (webView != null) {
            webView.loadUrl(url);
        }
    }

    @Override
    public void onBackPressed() {
        if (webView != null && webView.canGoBack()) {
            webView.goBack();
        } else {
            showExitDialog();
        }
    }

    private void showExitDialog() {
        new AlertDialog.Builder(this)
                .setTitle("Exit App")
                .setMessage("Are you sure you want to exit?")
                .setPositiveButton("Yes", (dialog, which) -> finish())
                .setNegativeButton("No", (dialog, which) -> dialog.dismiss())
                .show();
    }
}
You have to replace the website link given in this code with your website link and after that, you can check it by running it.
Step 6: Build and Run
After doing all this, you have to connect your Android Studio to your mobile debugging and run your project to check whether your application is scaling properly or not. After that you can create an apk by going to build and clicking on generate apk.


